
Wellington homes often lose warmth through wall cavities that were never insulated, especially after renovations or in older houses. Cold internal surfaces, draughts around sockets, and rooms that never hold heat point to a gap behind the lining. This guide explains what those signs mean, how installers assess existing walls, and what to check before work begins. First, seek evidence inside your home.
Signs Your Walls Are Losing Heat
A room with uninsulated walls often feels cold even after the heating has been running. Internal wall surfaces can feel noticeably cooler than the ceiling or floor, while furniture placed against an outside wall becomes uncomfortable to touch. Cold spots often appear near corners, window reveals, and power outlets.
Pay attention to how different rooms behave. A bedroom besides an external wall may lose heat faster than a central room, while a living area can remain chilly despite closed windows and doors. Damp-looking patches, mould growth, or peeling paint also deserve attention, as cold surfaces encourage condensation.
A professional assessment separates wall insulation problems from other causes, such as roof heat loss, underfloor draughts, or gaps around joinery. For practical guidance on wall, ceiling, and underfloor work, review house insulation for Wellington before arranging an inspection. The right location for insulation depends on the construction, access, and condition of each part of the house.
Why Wall Insulation Matters
Wall insulation slows the movement of heat through the building envelope. During winter, it helps keep warmth inside living areas instead of allowing it to pass through external walls. In warmer weather, it also slows heat from entering through sun-facing surfaces.
Uninsulated walls create more than an uncomfortable room. They force heating systems to work harder, make temperature differences more noticeable, and leave some areas unused because they feel too cold. A well-insulated wall also makes internal temperatures more consistent between rooms.
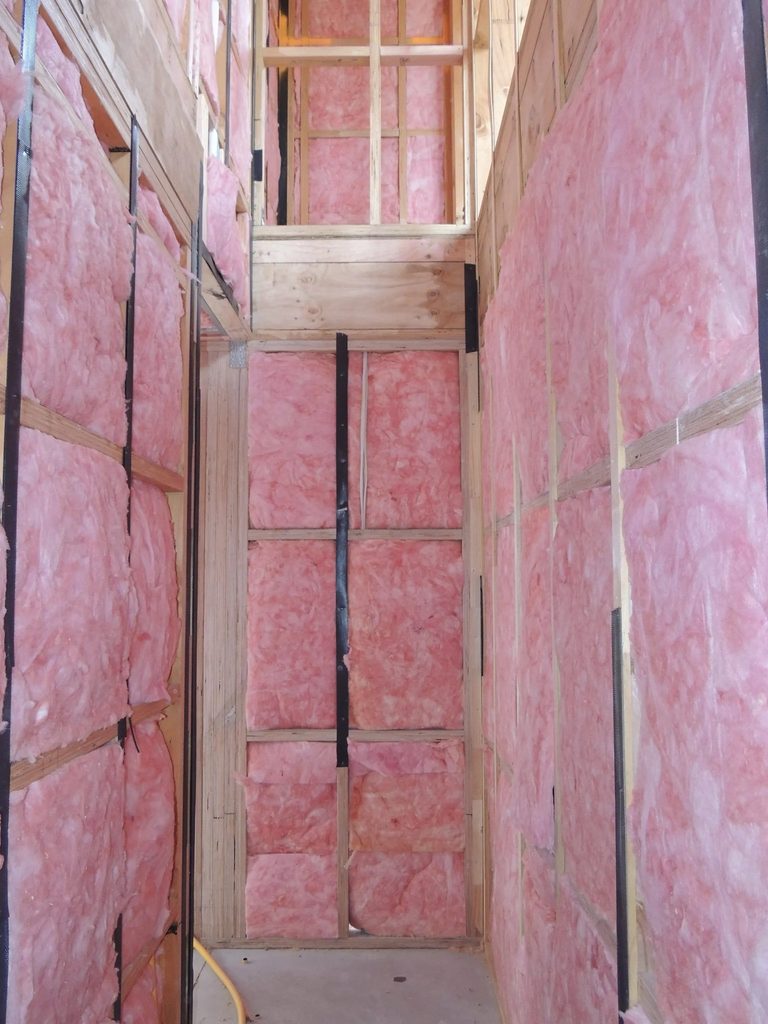
The construction of the wall determines the suitable approach. A timber-framed cavity can take insulation between studs, while masonry construction needs a different assessment. Existing linings, wiring, plumbing, moisture, and previous repairs must be considered before an installer chooses a method.
How Installers Check Existing Walls
Wall insulation cannot be assessed properly by looking at paint or plaster alone. First, an installer checks the wall type, the condition of the lining, and the available access. Small inspection points or existing openings can reveal whether a cavity contains insulation and whether it has shifted, compressed, or deteriorated.
The assessment should also look for moisture. Installing insulation against a damp area can hide a building problem and prevent the wall from drying properly. Roof leaks, plumbing faults, damaged cladding, and failed sealants need attention before insulation work proceeds.
Ask what the inspection will cover and how access points will be repaired. Useful questions include:
- Will the assessment identify empty and partially insulated cavities?
- Will moisture or ventilation problems be checked?
- Which areas require removal of internal lining?
- How will drilled openings be patched and finished?
Clear answers make the scope easier to compare and reduce surprises during the work.
Choosing an Approach for Existing Walls
Some walls allow insulation bays to be fitted between exposed studs during renovation or relining. This method gives the installer direct access and allows the cavity to be checked before the lining returns. It suits projects where plasterboard is already being removed for repairs or alterations.
Blown-in insulation uses small access holes to fill a suitable wall cavity. The installer places the material through those openings, then closes and finishes the holes. This approach reduces the amount of wall lining removed, but it still requires an assessment of cavity condition and obstructions.
No method suits every house. Wall height, framing layout, electrical services, moisture, and the condition of the existing lining all affect the work. The installer should explain the selected method, the areas included, the finishing required, and any repairs that fall outside the insulation work.
Preparing for the Work
Before the appointment, note which rooms feel cold and when the problem is most noticeable. Move furniture away from external walls, clear access around power points, and identify recent leaks or repairs. Photos of damaged paint, condensation, or mould can help explain the issue during the assessment.
Keep the discussion focused on the whole thermal envelope. Insulating one wall can improve a room, but heat can still escape through the ceiling, floor, windows, doors, or unsealed gaps. A practical plan ranks the work by condition, access, and the areas causing the greatest discomfort.
After installation, inspect repaired openings and ask how the wall should be maintained. Do not cover fresh patches or paint over damp areas until the repair has dried. Good ventilation still matters because insulation does not replace moisture control, extraction, or sensible heating.
Conclusion
Cold walls are a clear reason to investigate whether a Wellington home has missing or damaged insulation. Start by recording cold rooms, checking for moisture, and arranging an assessment of the wall construction, rather than guessing based on surface temperature alone. Ask for a written scope that explains access, materials, repairs, and excluded areas, then address the biggest sources of heat loss first.