
An original cartoon world needs more than an attractive character and a colorful background. The characters must look as though they belong to the same visual universe, while locations, props, costumes, and rules should support the story. If these elements are generated separately without a plan, the result often feels like a collection of unrelated ideas.
AI makes visual development faster, but it does not replace creative direction. I still need to decide what makes the world distinctive, how each character fits into it, and which details must remain consistent across images and animated shots. The best workflow moves from broad concepts to approved reference materials before production begins.
How to Create Original Cartoon Characters and Worlds with AI
Begin with a Clear Creative Premise
Start by writing one sentence that combines the protagonist, setting, and central contrast. A useful premise might be: “A shy cloud mechanic repairs the weather above a floating desert where rain is treated as treasure.” This immediately suggests a character role, a world, a visual conflict, and possible stories.
Ask practical questions before generating images. Who lives here? What do they eat, build, fear, celebrate, and trade? How do they travel? What problem shapes daily life? The answers do not need to form a complete encyclopedia. They only need to produce visual details that can appear on screen.
Define the World Through Design Rules
Create a short world guide that describes the visual system. Include the main shapes, materials, colors, technology level, architecture, climate, and mood. These rules should be specific enough to guide generation but flexible enough to support different scenes.
For the floating desert, I might use rounded sandstone islands, woven fabric structures, copper weather machines, pale turquoise skies, and bright orange warning flags. Natural objects have soft curves, while mechanical objects use circles, valves, and exposed pipes. That contrast can remain visible throughout the project.
Choose what the world should avoid as well. If plastic surfaces, modern electronics, dark gothic architecture, or photorealistic textures do not belong, record those boundaries. Clear exclusions help prevent the visual direction from drifting as more assets are generated.
Organize References on a Visual Canvas
World building produces many related materials: written notes, style references, palettes, character drafts, architecture studies, props, maps, and storyboard ideas. Storing them in separate folders makes it difficult to see whether they still support the same concept.
An agentic AI canvas gives me one workspace for arranging these materials according to their relationships. I can keep the premise in the center, develop character branches on one side, explore locations on another, and connect approved designs to the scenes where they will appear.
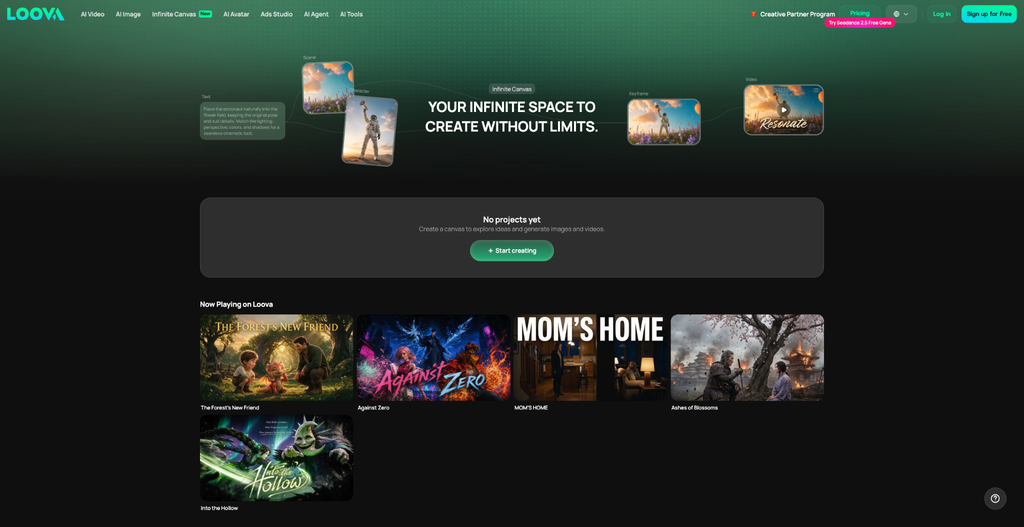
Create clear zones for inspiration, experiments, approved assets, and production materials. Label references according to what they contribute, such as line style, shape language, costume construction, lighting, or color. This stops one image from controlling parts of the design it was never intended to influence.
Establish a Recognizable Cartoon Style
“Cartoon style” can describe clean vector art, hand-drawn television animation, anime, watercolor illustration, paper cutouts, rubber-hose comedy, or polished 3D rendering. Choose a more precise direction before generating final designs.
Write one reusable style statement after selecting the direction. For example: “Stylized 2D animation with clean tapered outlines, simplified geometric forms, flat cel shading, warm desert colors, subtle paper texture, and expressive poses.” Repeat this foundation in later prompts.
Design the Main Character from the Story Role
Begin with function rather than appearance. What does the protagonist do every day, and what physical features would support that work? A cloud mechanic may need protective goggles, a tool belt, gloves, light clothing, and a portable device for measuring moisture.
Then connect the design to personality. A cautious character might wear carefully repaired equipment and keep every tool organized. A reckless character doing the same job could have uneven straps, scorched gloves, and tools hanging in impractical places. These choices communicate behavior before the character speaks.
Generate several silhouettes before refining faces or clothing. Strong characters should remain recognizable when filled with one solid color. Compare variations in height, head shape, shoulders, limbs, costume volume, and accessories, then select the silhouette that best expresses the role.
Create a Complete Character Reference Sheet
Generate front, side, back, and three-quarter views against a simple background. These turnarounds help reveal whether costume details, proportions, and accessories remain consistent from different angles.
Create several action poses that demonstrate the character’s movement style. The cloud mechanic might climb pipes, balance on a floating platform, carry a heavy valve, or lean into strong wind. These images become useful references when generating storyboard frames and animation.
Finally, write a compact reusable description. A character name provides little guidance by itself. A prompt should repeat the most recognizable traits, especially the silhouette, hairstyle, costume colors, key accessories, and facial design.
Build Locations Around Character Actions
Do not design environments as empty concept art. List what characters need to do in each place. If the protagonist repairs weather machines, the workshop needs reachable controls, tool storage, access platforms, pipes, windows, and enough open space for physical action.
Start with a wide master view that establishes the layout. Then generate practical angles for conversation, movement, close interaction, and important reveals. Keep recognizable landmarks in several views so audiences can understand where characters are positioned.
Create Props That Explain the World
Props can communicate rules more efficiently than exposition. A rain token, collapsible sail, mechanical compass, or cloud-catching bottle tells viewers something about the society and its technology.
Design story-critical objects separately before placing them in scenes. Define their shape, materials, scale, colors, moving parts, and method of use. If a prop changes appearance between shots, the action becomes harder to follow.
Test Characters Inside Real Scenes
A character sheet can look consistent while the design fails in production. In practice, place the approved character inside wide, medium, and close shots. Test sitting, running, holding props, interacting with another person, and reacting to environmental conditions.
Check whether the silhouette remains readable against the backgrounds. Similar costume and environment colors may cause the character to disappear. Adjust values, outlines, or accent colors without redesigning the entire visual system.
Also test emotional range. A face designed for a neutral portrait may not support strong comedy or subtle sadness. Revise the expression system before generating dozens of storyboard panels.
Turn Approved Images into Animated Shots
Once the characters, locations, and props have been tested together, an AI image to video generator can transform selected keyframes into moving scenes. Starting from an approved image gives the animation model clearer information about the character design, composition, and world style.
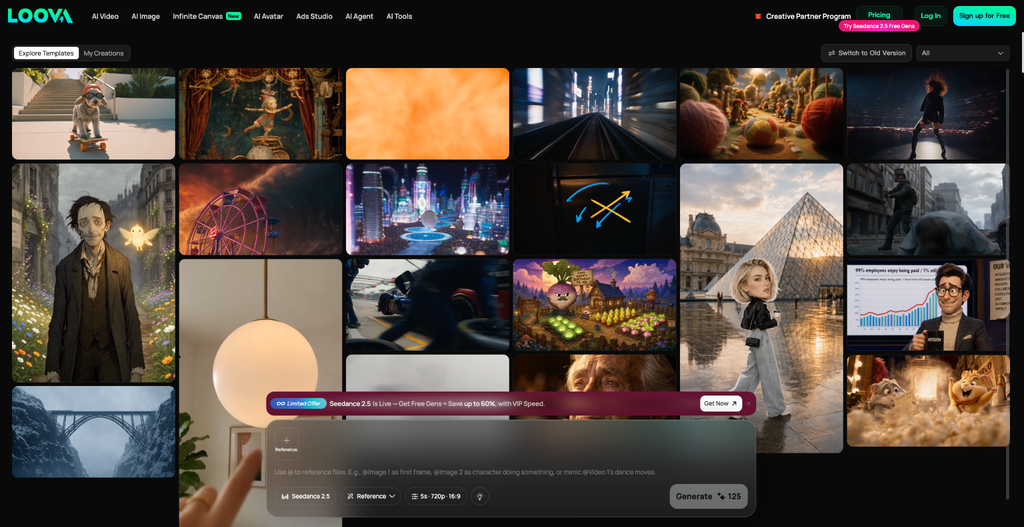
Write motion prompts in chronological order. Describe the character’s action, expression, camera behavior, environmental movement, and ending position. For example: “The mechanic tightens the copper valve, looks up as the clouds begin to spin, and shields her goggles from the first burst of rain while orange flags whip in the wind.”
Keep each clip focused on one readable event. If a character must cross a room, operate a machine, argue with a partner, and react to an explosion, divide the sequence into several shots. Shorter actions are easier to control and easier to replace when something fails.
Use animation tests to improve the original designs. A large hat may hide facial expressions, a long coat may move unpredictably, or a detailed prop may change shape. Simplifying these features can make the character more stable without removing their identity.
Review Consistency Across the Project
Arrange final character sheets, environment views, props, keyframes, and animated clips together. Compare proportions, costume details, colors, architecture, materials, lighting, and scale. Small differences are acceptable, but major changes should have a story reason.
When one image or clip feels wrong, identify the exact source. The issue may come from an outdated reference, unclear prompt, conflicting style phrase, or difficult design feature. Revise that branch instead of regenerating everything.
Create a final reference pack containing only approved assets. This becomes the visual source of truth for future episodes, marketing images, comic panels, or new animated scenes.
Common Mistakes When Building Cartoon Worlds
The first mistake is collecting too many unrelated references. A large mood board may look inspiring while giving the model conflicting instructions. A smaller set with clearly labeled roles usually produces a stronger identity.
Another mistake is adding detail without purpose. Elaborate symbols, costumes, and architecture do not automatically make a world original. The strongest details reveal character, support action, or express a rule of the setting.
Finally, creators often animate too early. Testing the character, environment, and props as still images makes inconsistencies cheaper to fix. Animation should begin after the recurring elements work together.
Conclusion
Original cartoon characters and worlds grow from a shared system. The premise defines the central idea, design rules create visual boundaries, character roles shape costumes and silhouettes, and environments provide places where meaningful action can happen.
AI speeds up exploration, but selection and consistency create the final identity. Develop characters and locations together, keep approved references organized, and test designs inside real scenes before animation. A small world built around clear rules will usually feel more memorable than a huge world filled with disconnected detail.
Frequently Asked Questions
Do I need drawing skills to create cartoon characters with AI?
No. AI can help generate silhouettes, turnarounds, expressions, costumes, environments, and props. However, you still need to choose the strongest direction and identify which details should remain consistent.
How many character views should I create?
At minimum, prepare front, side, back, and three-quarter views. Expression sheets and action poses provide additional guidance for storyboards and animation.
How can I make an AI-generated cartoon world feel original?
Combine a specific premise with consistent design rules. Repeating shapes, materials, colors, technologies, and social details will create a stronger identity than relying on a general genre label.
When should I begin animating the characters?
Begin after the character sheets, main environments, important props, and keyframes have been approved. Testing still images first makes design problems easier and less expensive to correct.