

Creating a home gym or fitting out a commercial fitness centre is an exciting project. However, the process of installing gym equipment can be daunting. From treadmills and weight machines to benches and racks, each piece requires careful handling, precise assembly, and often, specialist knowledge. A poorly installed piece of equipment not only risks damage to the machine itself but, more importantly, poses a serious safety hazard to users. This comprehensive guide will walk you through the essential steps, considerations, and best practices for installing gym equipment safely and effectively, ensuring your fitness space is functional and secure.
This isn’t just about tightening a few bolts. Correct installation is crucial for the longevity and performance of your equipment. It ensures smooth operation, minimises wear and tear, and prevents premature breakdowns. Moreover, proper installation often validates warranties, protecting your investment. Whether you’re a seasoned DIY enthusiast or hiring professionals, understanding the intricacies of gym equipment installation is vital for a successful and safe fitness environment. This guide will empower you with the knowledge to make informed decisions and oversee the installation process with confidence.
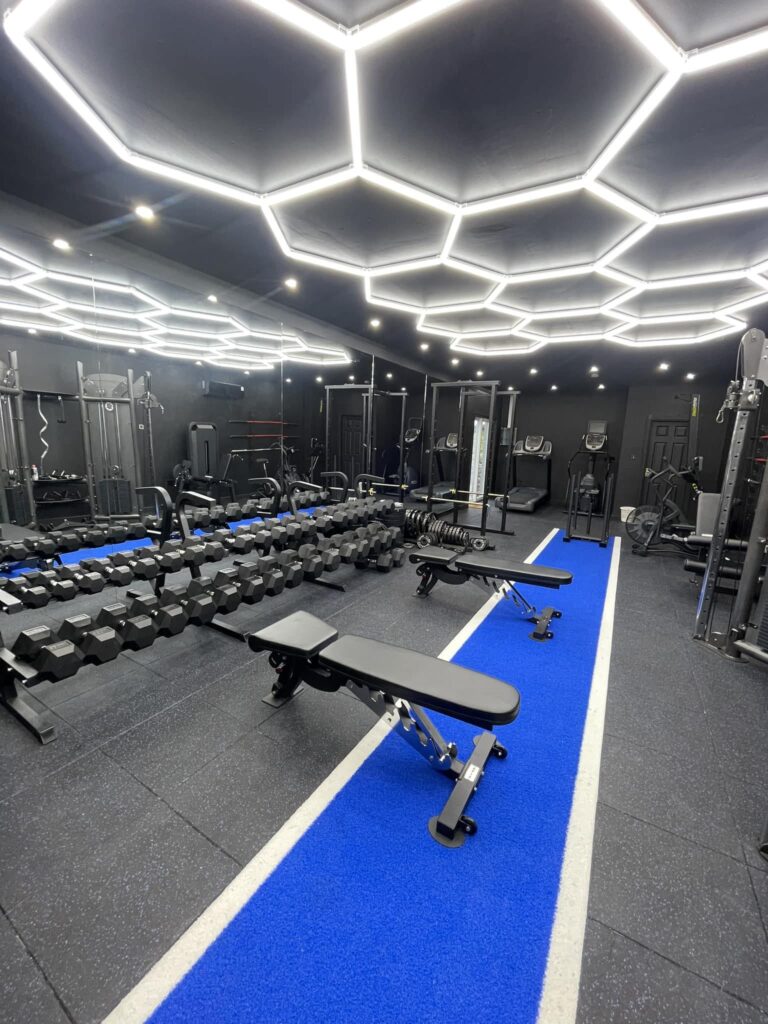
Planning Your Gym Layout
Before you even think about unpacking a single piece of equipment, careful planning is paramount. Consider the following:
1. Available Space: Measure your gym area accurately. Factor in the dimensions of each piece of equipment and the space required for users to operate it safely. Don’t cram everything in; leave enough room for movement and avoid a claustrophobic atmosphere. Remember to account for ceiling height, especially for equipment like pull-up bars or overhead presses.
2. Equipment Placement: whether you own a local gym in Carrickmacross or a large commercial gym in Miami, you should always think about the flow of your gym. Group similar equipment together (e.g., cardio machines in one area, weightlifting in another). Consider the proximity of power outlets for electrical equipment. Place weight benches and squat racks away from high-traffic areas to avoid collisions. Natural light and ventilation should also be considered.
3. Floor Surface: The type of flooring in your gym is critical. Hardwood or tile floors can be damaged by heavy equipment. Consider using rubber mats or interlocking tiles to protect the floor and provide a stable, non-slip surface. These also help dampen noise and vibrations.
4. Power Supply: Ensure you have enough power outlets in the right locations. Some equipment, like treadmills, may require dedicated circuits. Consult an electrician if you’re unsure about your electrical capacity.
5. Ventilation: Gyms can get hot and stuffy. Good ventilation is essential. Ensure adequate airflow, either through windows or mechanical ventilation systems.
Preparing for Installation
Once your layout is finalised, you can begin preparing for the installation process:
1. Read the Manual: This is the most crucial step. Every piece of equipment comes with a specific instruction manual. Read it thoroughly before you start. It will contain detailed assembly instructions, safety precautions, and maintenance guidelines.
2. Inventory the Parts: Before you begin assembly, unpack all the components and check them against the parts list in the manual. This will prevent frustration later if you discover a missing piece.
3. Gather Your Tools: Make sure you have all the necessary tools. This might include wrenches, screwdrivers, Allen keys, spanners, spirit levels, and measuring tapes. A power drill can be helpful for some installations.
4. Clear the Area: Ensure you have enough space to work around the equipment during assembly. Protect the floor with drop cloths or cardboard to prevent scratches.
5. Safety First: Wear appropriate safety gear, such as gloves and safety shoes, especially when handling heavy or bulky items.
The Installation Process: General Guidelines
While each piece of equipment will have its own specific instructions, there are some general guidelines to follow:
1. Step-by-Step Assembly: Follow the instructions in the manual precisely. Don’t skip steps or try to take shortcuts. If you’re unsure about anything, consult the manual or contact the manufacturer.
2. Tighten All Bolts and Screws: Ensure all bolts and screws are tightened securely. However, don’t overtighten, as this can damage the threads. Use the appropriate tools and check the tightness periodically after the initial installation.
3. Level the Equipment: Use a spirit level to ensure the equipment is level and stable. This is particularly important for weight machines and benches. Adjust the feet or levelling bolts as needed.
4. Connect Cables and Wires: If the equipment has cables or wires, connect them carefully and securely. Make sure they are routed properly to avoid tangling or damage.
5. Test the Equipment: Once the assembly is complete, test the equipment thoroughly. Check all functions and make sure everything is working correctly. Start with light weights or resistance and gradually increase the intensity.
Hiring Professional Installers
For complex or expensive equipment, or if you’re not confident in your DIY skills, it’s often best to hire professional installers. They have the experience, tools, and expertise to install your equipment safely and correctly. When choosing installers, look for:
– Experience: Choose installers with a proven track record of installing gym equipment.
– Qualifications: Check if the installers have any relevant certifications or training.
– Insurance: Ensure the installers have liability insurance in case of accidents or damage.
– References: Ask for references from previous clients.
Safety Checks and Maintenance
After the installation is complete, regular safety checks and maintenance are essential:
– Regular Inspections: Inspect your equipment regularly for loose bolts, frayed cables, or other signs of wear and tear.
– Lubrication: Lubricate moving parts as recommended by the manufacturer.
– Cleaning: Keep your equipment clean and free of dust and sweat.
– Maintenance Schedule: Follow the manufacturer’s recommended maintenance schedule.
Conclusion
Installing gym equipment requires careful planning, attention to detail, and a focus on safety. By following the guidelines in this article, you can ensure that your gym is a safe and effective space for achieving your fitness goals. Whether you choose to DIY or hire professionals, understanding the installation process is crucial for protecting your investment and, most importantly, ensuring the safety of yourself and others. Remember, a well-installed gym is a gym that will last, providing years of reliable service and supporting your fitness journey.


