

Freezing milk can be a game-changer for busy households. It’s a great way to extend the shelf life of your milk while ensuring you always have a supply on hand. But if you’ve ever struggled with filling and sealing those pesky freezer milk bags, you’re not alone. I’ve been there, and I know how frustrating it can be!
Choosing the Right Storage Bags
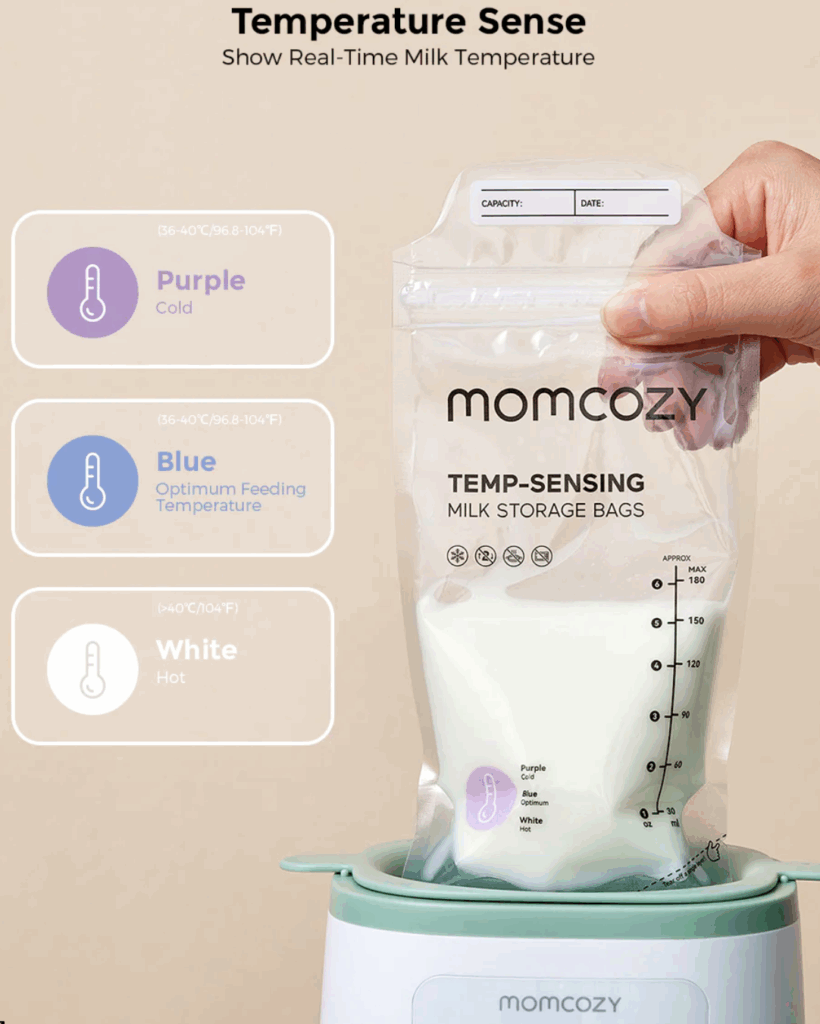
Opt for high-quality bags designed specifically for freezer use to ensure milk maintains its freshness. The right Freezer Milk Bags can prevent leaks and breakage, making the freezing process smooth.
Use Breast Milk-Specific Bags
Using breast milk-specific bags provides a reliable option for storing milk. These bags are designed to withstand freezing temperatures and feature double-sealed edges, preventing leaks. They also include measurement markings for easy portion control.
Avoid Inappropriate Alternatives
Avoid using regular plastic bags for freezing milk since they may not hold up under low temperatures. Regular bags can puncture easily and may not seal tightly, leading to spills and freezer burns. Choosing freezer milk bags ensures better protection for your milk.
Preparing to Fill the Bags
Preparation ensures successful filling of freezer milk bags and prevents messes. Following these steps makes the process smoother.
Sanitize Before Use
I sanitize my hands and any surfaces that will touch the freezer milk bags. I wipe down countertops and utensils with a food-safe sanitizing solution. This step reduces the risk of contamination and keeps the milk fresh.
Prepare the Milk
I make sure the milk is at room temperature before filling. If using breast milk, it’s essential to follow the guidelines for handling and preparing. I pour the milk into a measuring cup or pitcher to simplify the transfer into the freezer milk bags, ensuring accurate portions and minimizing spills.
Filling the Bags
Filling freezer milk bags correctly ensures optimal storage and preserves freshness. I’ll cover some essential tips for achieving the best results.
Recommended Volume
I recommend filling each freezer milk bag to about 3/4 full. This volume allows for expansion when the milk freezes, preventing overflow and potential leaks. Keeping portions consistent simplifies thawing and usage later.
Avoid Overfilling
I avoid overfilling the bags to prevent messes during freezing. An overfilled bag can expand beyond its limits, leading to leaks or spills. Sticking to the recommended volume helps maintain the integrity of the bags throughout the freezing process.
Remove Excess Air
I always remove excess air from the freezer milk bags before sealing. Trapped air can cause freezer burn and spoil the milk’s quality. After filling, I gently press the bag before sealing it, ensuring the air is minimized for improved preservation.
Sealing and Labeling
Effective sealing and labeling of freezer milk bags play a vital role in preserving milk quality and organization.
Secure the Seal
Ensure the seal of each freezer milk bag is tight. Press out any excess air before sealing to minimize freezer burn risk. I use the zipper closure of the bag, running my fingers along the edge to guarantee a firm closure. This simple step prevents leaks and keeps the milk fresh during storage. With Momcozy Breastmilk Storage Bags, the double-zipper seal and reinforced seams offer extra protection against leaks and spills, giving me peace of mind every time I store a bag.
Proper Labeling
Label each freezer milk bag for easy identification. I write the date and quantity on the bag’s surface with a permanent marker. This practice helps me track freshness and consume the oldest milk first. It also prevents confusion when retrieving bags from the freezer, ensuring I always use the correct milk for my needs. The writable label area on each Momcozy bag makes it quick and convenient to mark essential info without smudging or fading.
Freezing the Milk
Freezer milk bags create an efficient way to store milk long-term. Proper freezing techniques ensure milk stays fresh and accessible.
Lay Flat for Storage
I lay flat freezer milk bags in the freezer. Freezing bags flat maximizes space and speeds up freezing time. Once frozen, I stack them vertically, making it easy to grab what I need without rummaging.
Optimal Freezer Placement
I place freezer milk bags towards the back of the freezer. The back stays colder, maintaining a consistent temperature. Avoiding the door minimizes exposure to warmer air when the door opens, helping preserve milk quality.
Organizing by Date
I organize freezer milk bags by date. Labeling each bag with the date of freezing makes it simple to track freshness. This system helps me use the oldest milk first, ensuring nothing gets lost in the back of the freezer.
Storage Duration Guidelines
Storing milk properly ensures freshness and quality. The storage duration varies based on the environment.
Room Temperature
Room temperature storage isn’t suitable for freezer milk bags. Fresh milk should remain out at room temperature for no longer than two hours. Beyond this, bacterial growth increases, making it unsafe to refreeze or consume later. Always transfer milk to freezer milk bags promptly to maintain quality.
Refrigerator
In the refrigerator, I store milk for up to seven days in its original container or within freezer milk bags. Keeping the temperature below 40°F maintains freshness. If milk has been previously frozen, use it within four days of thawing for optimal quality.
Freezer
Freezer milk bags extend milk’s shelf life to six months without loss of quality. Ensure bags are sealed tightly to prevent freezer burn. Label each bag with the date of freezing to manage storage duration effectively. Safely thaw frozen milk in the refrigerator before use.
Thawing and Using Stored Milk
Thawing stored milk properly helps maintain its quality for use. This section covers safe thawing methods, refreezing rules, and the shelf life of thawed milk.
Safe Thawing Methods
Thaw milk from freezer milk bags in the refrigerator for optimal safety, allowing gradual and even thawing. If time is short, place the sealed bag in cold water, changing the water every 30 minutes until thawed. Avoid using hot water or microwaves, as these can create uneven temperatures and compromise milk quality.
Refreezing Rules
Refreezing thawed milk isn’t advisable, as it affects texture and flavor. If I thaw milk and don’t use it within two days, I discard it to prevent waste. When exploring refreezing options, remember that milk should only be refrozen if it hasn’t been left at room temperature for over two hours.
Shelf Life of Thawed Milk
Thawed milk can stay fresh for up to 5 days in the refrigerator when stored properly. If I notice any changes in color, odor, or texture before this period, I discard the milk. Monitoring these factors ensures that the milk remains safe and enjoyable after thawing.
Conclusion
Freezing milk can be a game-changer for busy households like mine. By following the right steps to fill, seal, and store freezer milk bags, I can ensure my milk stays fresh and ready to use.
I’ve learned that choosing high-quality bags and properly sealing them makes all the difference in avoiding leaks and freezer burn. Plus, labeling each bag helps me keep track of freshness so I can always grab the oldest milk first.
With these tips in mind, I feel more confident in my freezing routine. It’s all about making life a little easier while enjoying the convenience of having milk on hand whenever I need it. Happy freezing!


